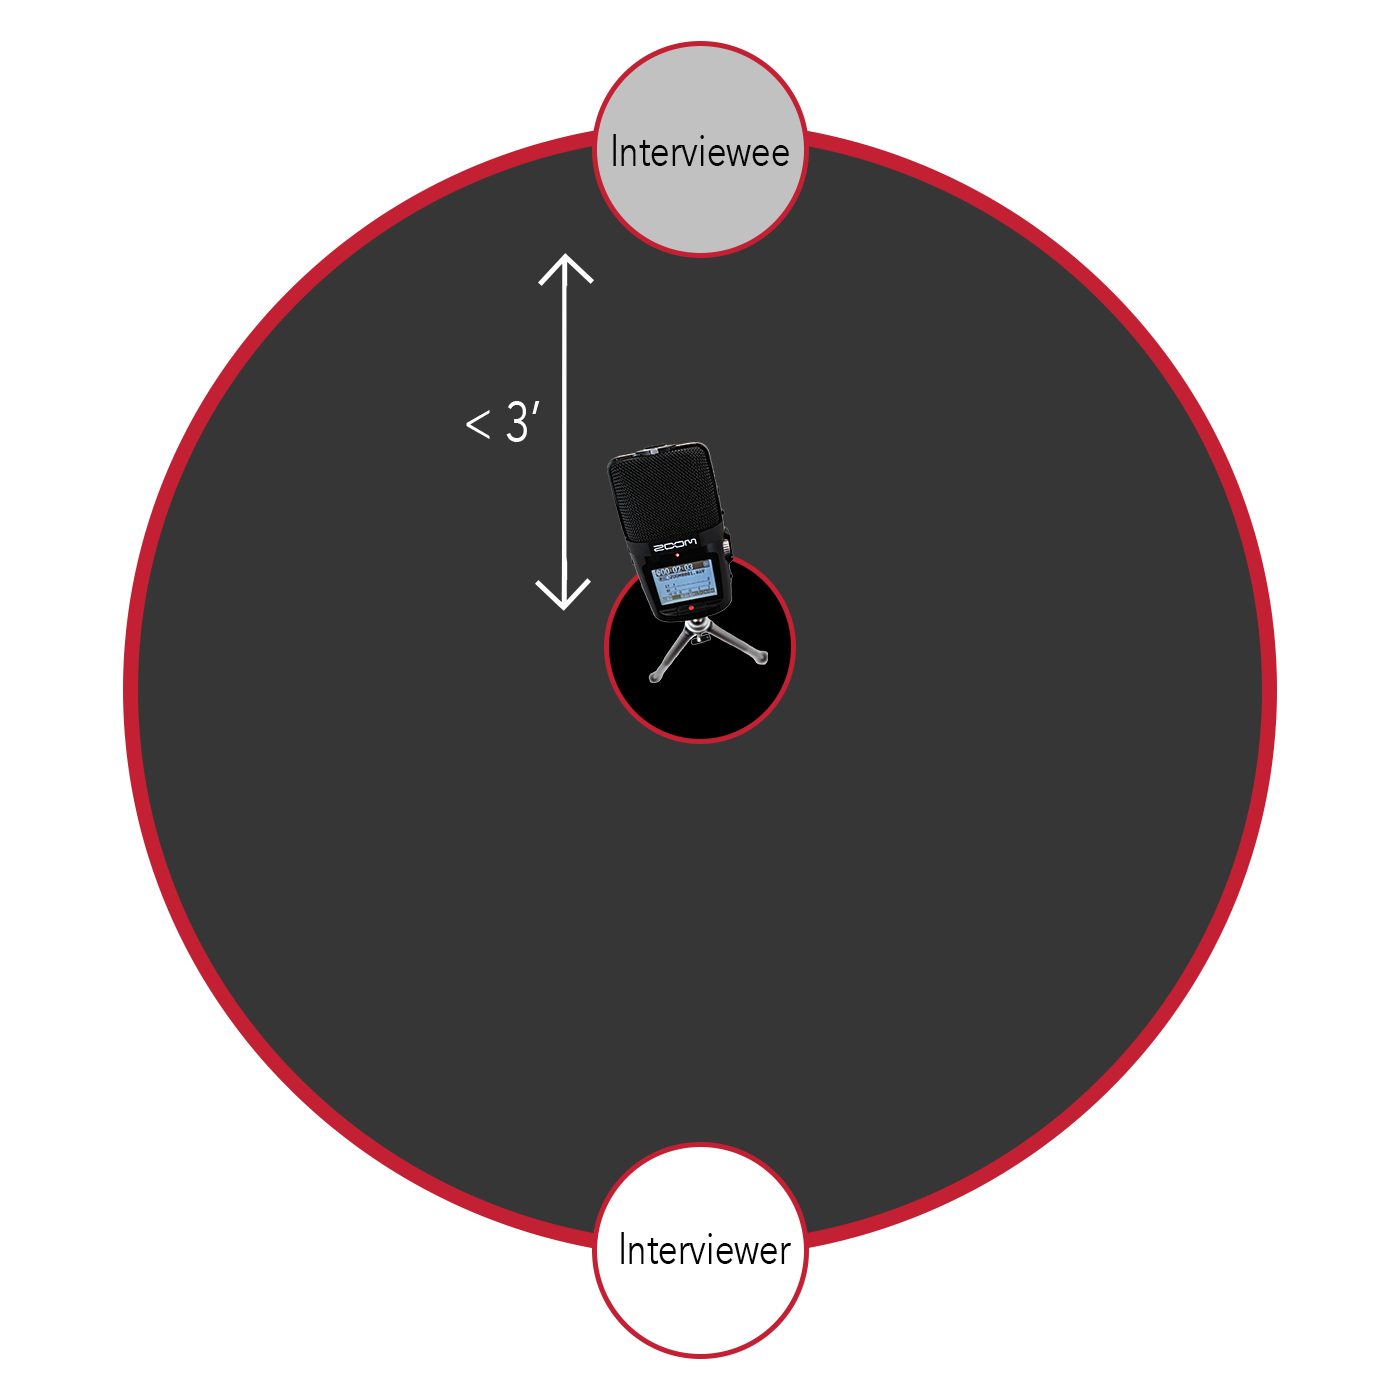
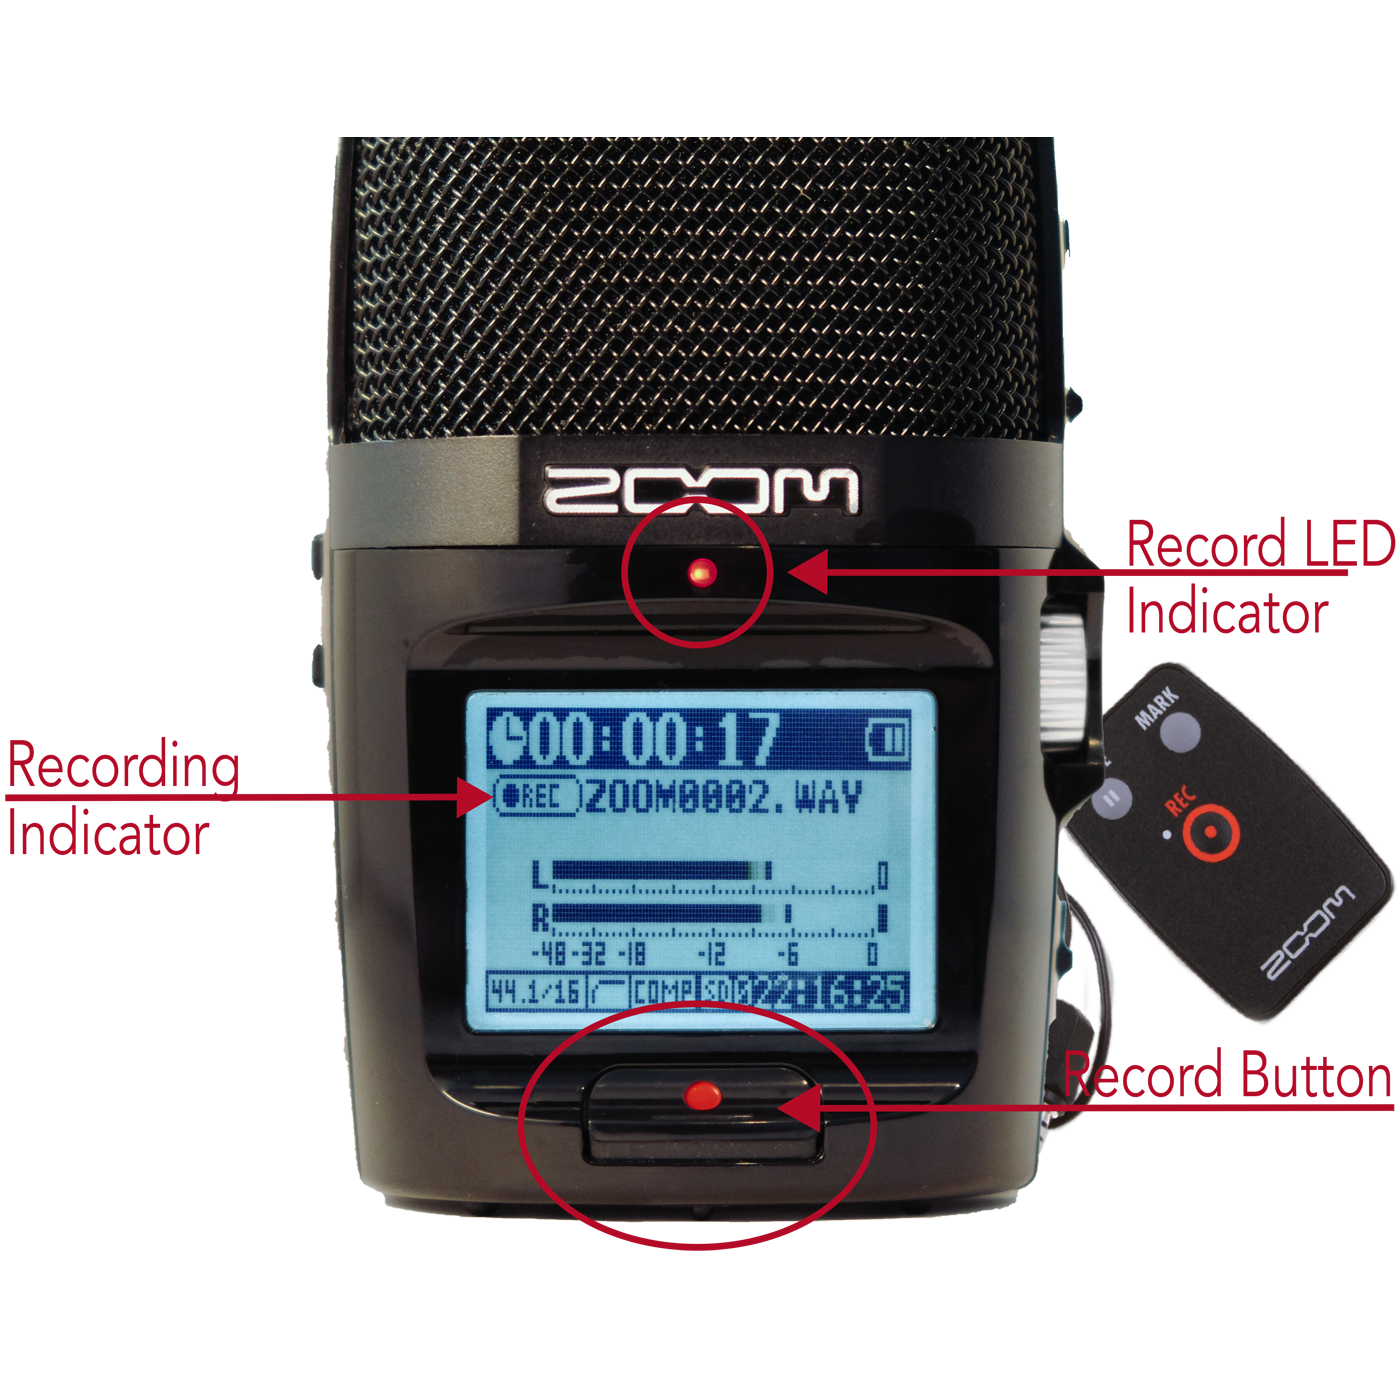
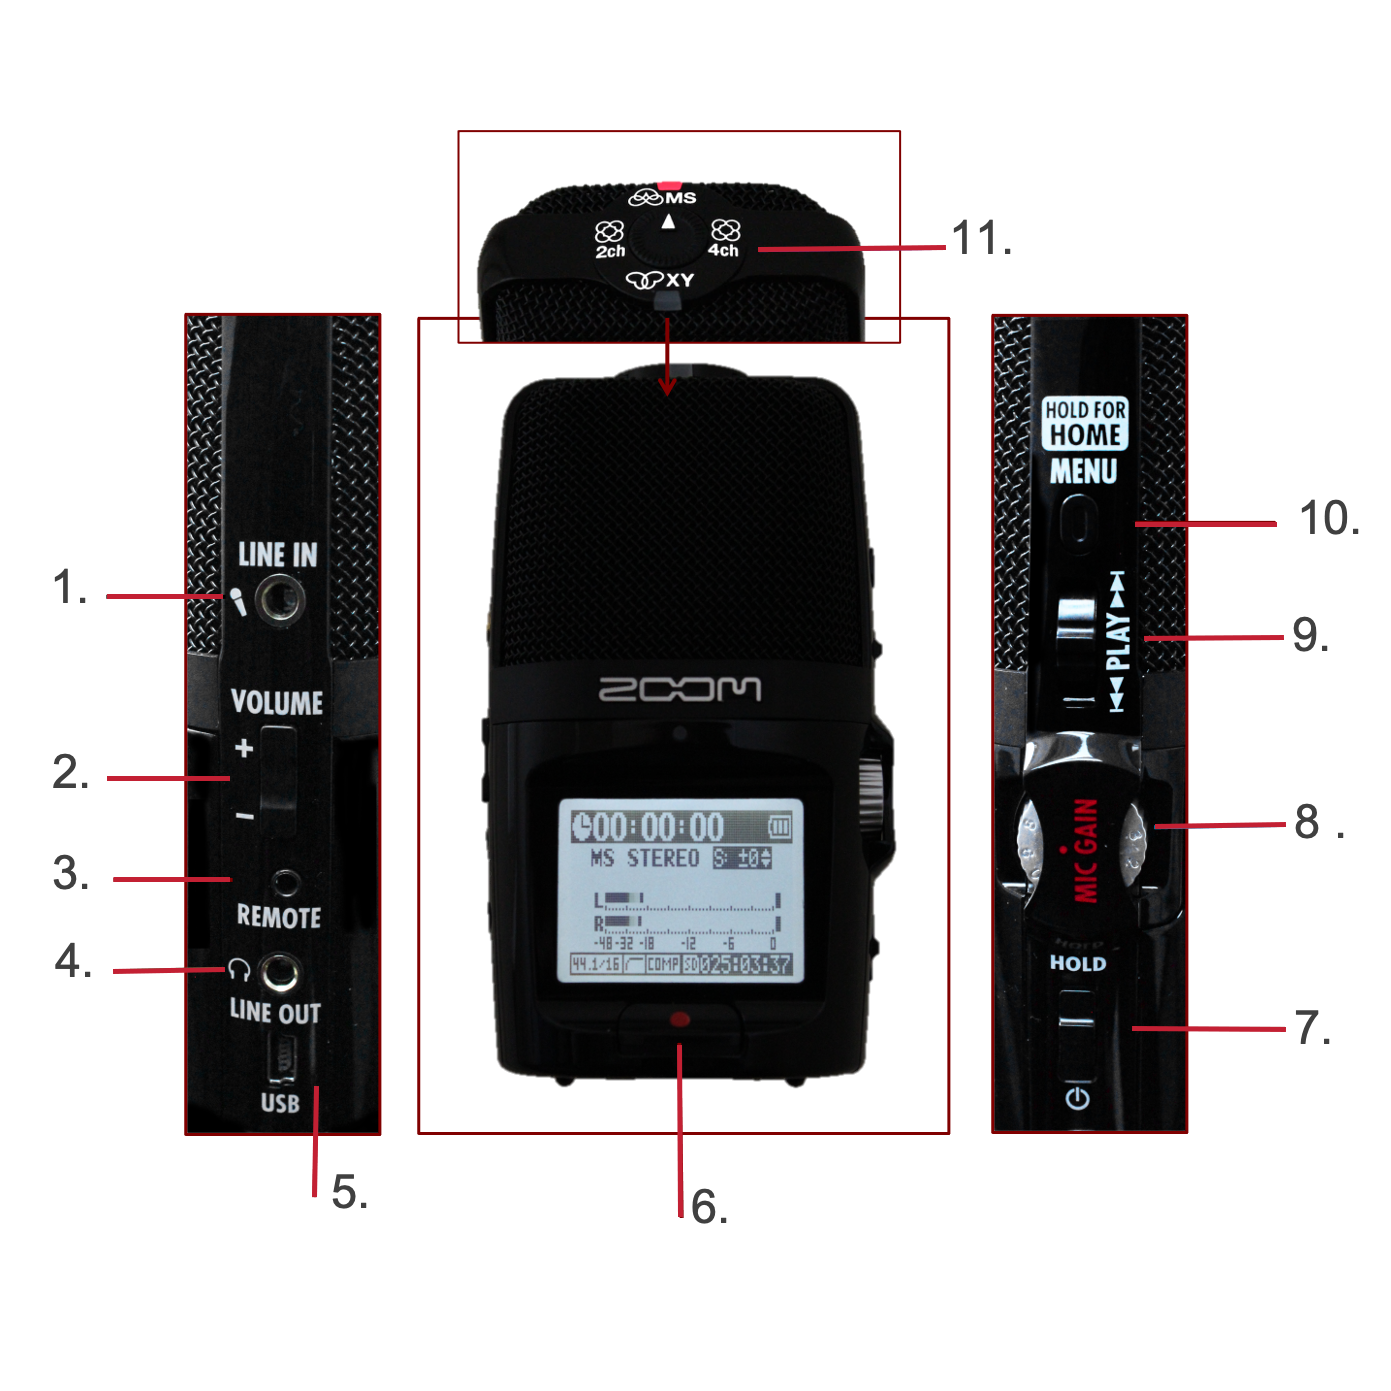
Tutorial  


Zoom H2n Audio Recorder


Kit

The Zoom H2 Kit includes:

• Desktop mic stand

• Foam windscreen

• USB cable and AC adapter

• Remote control

• Headphones

Inside the recorder are:

• One SD card

• 2 AA batteries

Orientation


1. Line in (for an additional microphone)

2. Playback volume

3. Remote control input

4. Line out (for headphones)

5. Mini USB port (for A/C adaptor and USB cable)

6. Record button

7. Power (pull down and hold) and “Hold” (slide up to lock and disable all button input.)

8. Mic Gain control

9. Play button and toggle/selection for menu

10. Menu

11. Mic Selector

Display


The display  on the H2n has several features that will be useful to you while recording. In addition to your recording levels, the display shows:

• A “recording” indicator

• The duration of your current recording

• The current file and filter settings

• Time remaining on your SD card storage

• Battery life indicator


Format


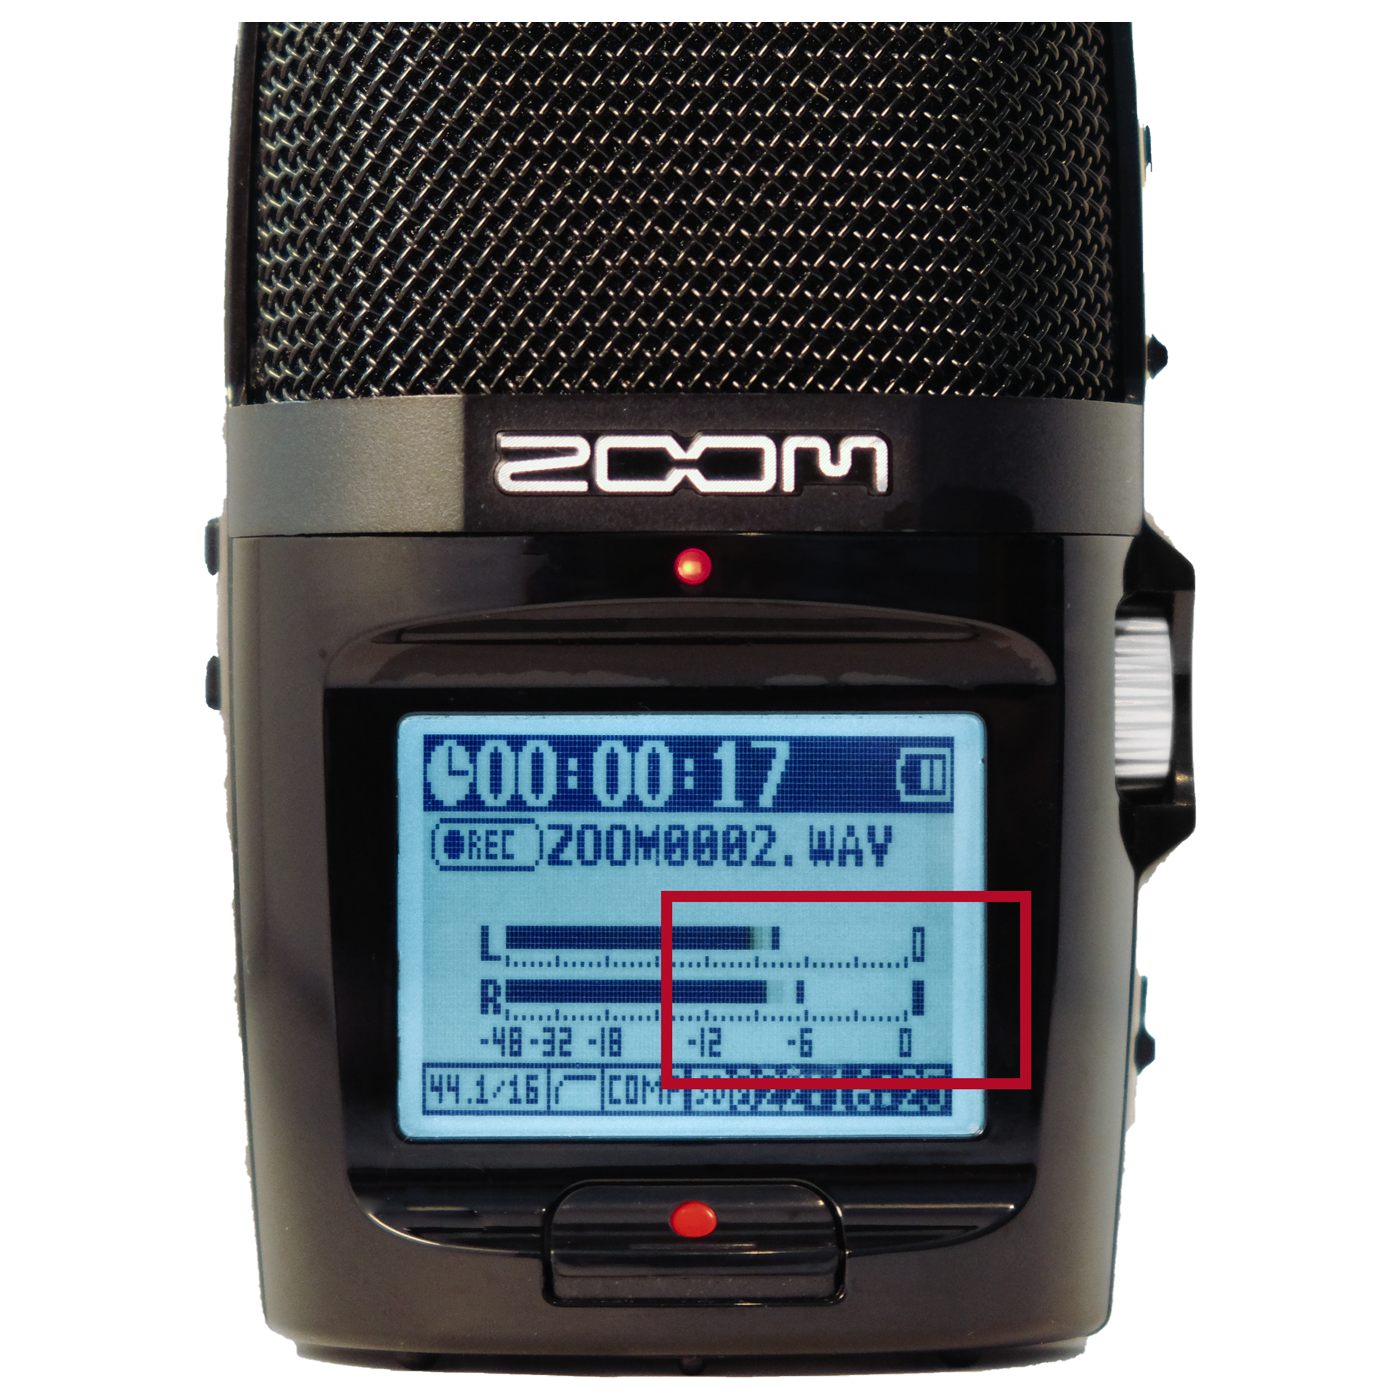
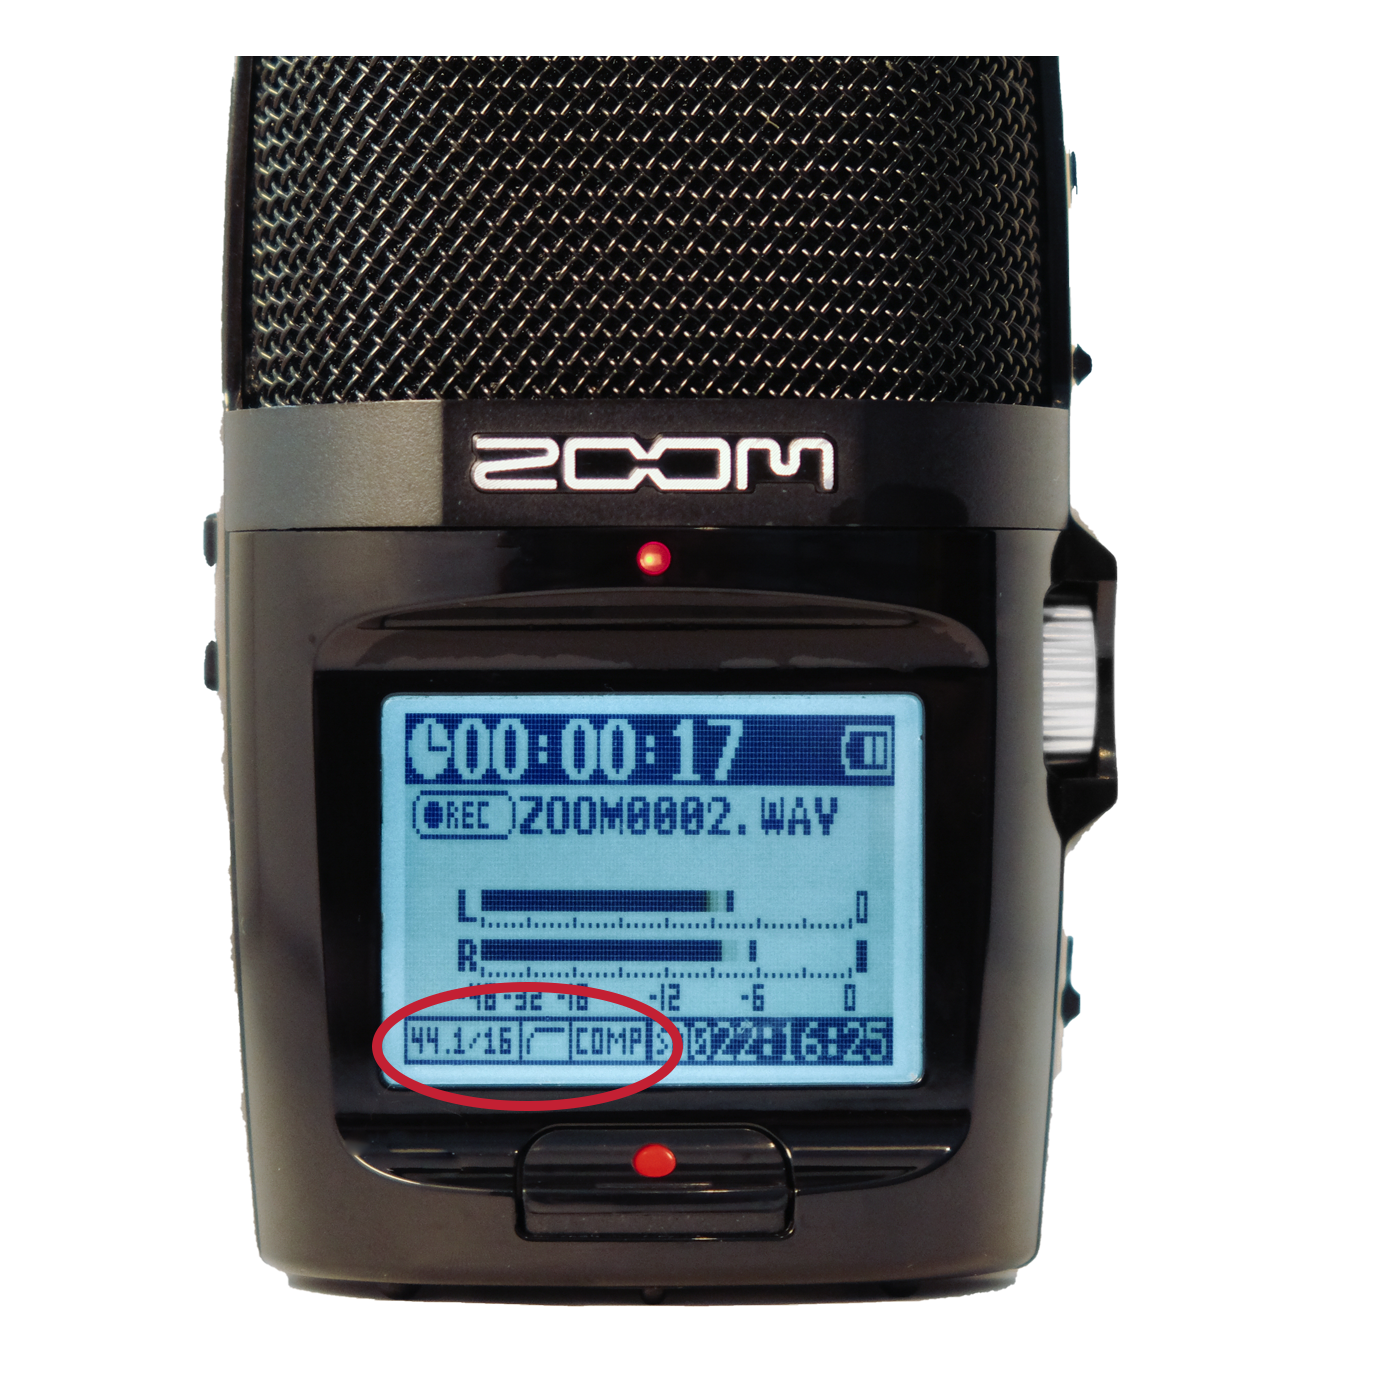
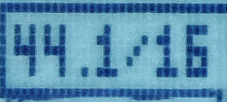
The display will also show your recording settings. To record archival quality audio that will support preservation, make sure that you are recording in uncompressed WAV audio files, and at a Sample Rate and Bit Depth of 44.1/16 or greater.

File Format

The Zoom H2n also has two built in filters that will help you to record good quality audio. Make sure they are on before recording your interview.

1. Lo Cut Filter helps to eliminate low-end frequencies that may interfere with your recording.

Lo Cut Filter

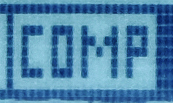
2. Comp 2 Vocal Limiter tells the recorder that the intended audio signal (what you mean to record) is a human voice.

Comp 2 Vocal Filter

Power


Try to always record in a space where you can plug your recorder into an outlet using the A/C adapter. An extension cord should be part of your kit, because the USB cord provided is very short.

Have fresh AA batteries in your recorder as a back up, and extra batteries in your kit in case you cannot plug-in.

Batteries can last around 3 hours, depending on their quality. You can see the battery life remaining on the monitor. This icon will appear “full” when the recorder is plugged in.

Replace the batteries by sliding down the back cover to remove it.


Microphone Selection


Choose from one of the follow mic settings based on how many people you are interviewing.

1) For interviews with one interviewee, choose the Mid-Side (MS) microphone. This mic defines an angle in front of the recorder for the mic to focus in. You will still be able to hear the interviewer clearly, but there will be a little more focus on the interviewee, and less interference from sounds outside of the defined angle.

Use the toggle switch on the right-hand side to set the angle to 120º (+/-0 on the diplay).

2) For interviews involving three or more persons, use the Two-Channel Surround setting. This will activate microphones on all sides of the recorder, and ensure everyone’s voice is captured.

Environment


Try to choose a quiet, controlled and comfortable space for your interview. A smaller room, with soft surfaces such as furniture, carpet and drapes, will sound better than a larger room with mostly hard surfaces. If possible, avoid being near distracting background noises like an open window, air-conditioner, radiator, refrigerator, ticking clock, fans, traffic, etc.

Once you have visually assessed your recording environment, turn on the recorder and listen to the space as well. With over-the-ear, closed-back headphones, listen for any sounds that might interfere, such as the humming of motors or the whirring of fans.

Leave your headphones plugged in, and listen while you and your interviewee get comfortable. Make small talk so that you can station the recorder and set the levels. Once you are confident in the levels you can take your headphones off.

Levels


The “levels” are the two horizontal bars on your monitor that move when the recorder is on and the mic is active.

As you and your interviewee make small talk, aim for the levels to move between -12 and 0 when your interviewee is speaking. Below this, the recording will be too quiet. If the levels are consistently near 0, their voice will be distorted.

To achieve good levels, start with the Mic Gain at 7 or 8 and ensure you have the best mic placement possible. Then, if necessary, adjust the Mic Gain.

It is normal for the levels to fluctuate. While recording, only adjust the Mic Gain if the levels are consistently too low, or high. Refrain from continually adjusting throughout the interview.

Mic Placement


Ensure the microphone is placed mid-way between you and the interviewee with the monitor facing you. There should be around 3 feet, or an arm’s length, between the recorder and the interviewee.

Placing the mic-stand on top of a dense rubber mousepad, or a thick book, will help to prevent reverberation from low frequencies traveling through the table into the recorder.

Alternatively, you can use a free-standing mic stand, or a camera tripod to position the mic between you and the interviewee.

If the levels are too low, try inching the microphone toward the interviewee, or tilting the microphone upwards toward the interviewee. If this does not solve the problem, try increasing the Mic Gain a little at a time.

Recording


When you are ready to record, hit the “Record” button on the front of the recorder below the display. Confirm you are recording by observing:

1. A red light in the centre of the recorder.

2. The “time elapsed,” counter counting up and the “time remaining” in storage counting down.

To use the remote:

Plug the remote into the Remote Control input on the left side of the recorder.

Hit record to begin recording, and look for the indicators noted above. When you want to stop the recording, press the Record button again.

If you want to pause the recording, use the pause button. Make sure you use the pause button to resume recording, as hitting Record button will create a new file.