Tutorial  


Recording with Mobile Devices


Pros and Cons


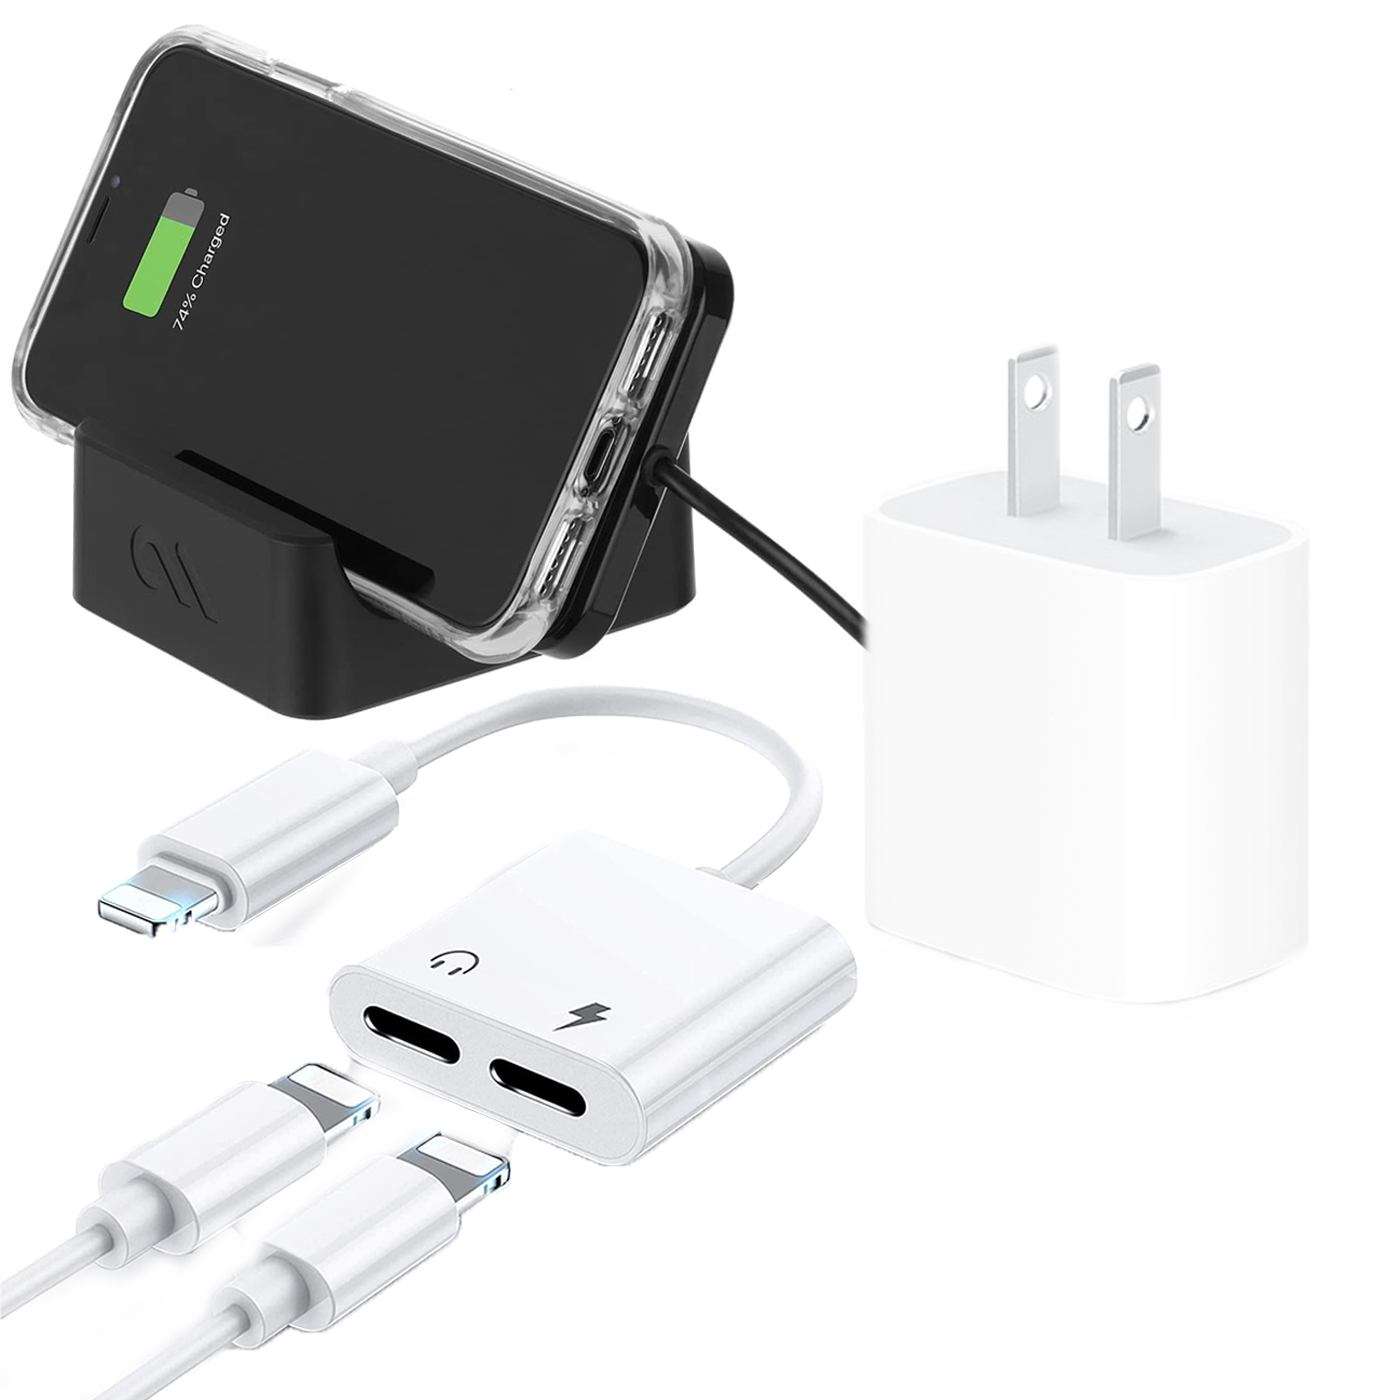
While recording with your mobile device might seem like an easy and convenient way to record oral history interviews, the challenges tend to outweigh the benefits. Before choosing your phone as a recorder, consider the following pros and cons.

PROS

• If you already have a mobile device, you won’t need to purchase a recorder.

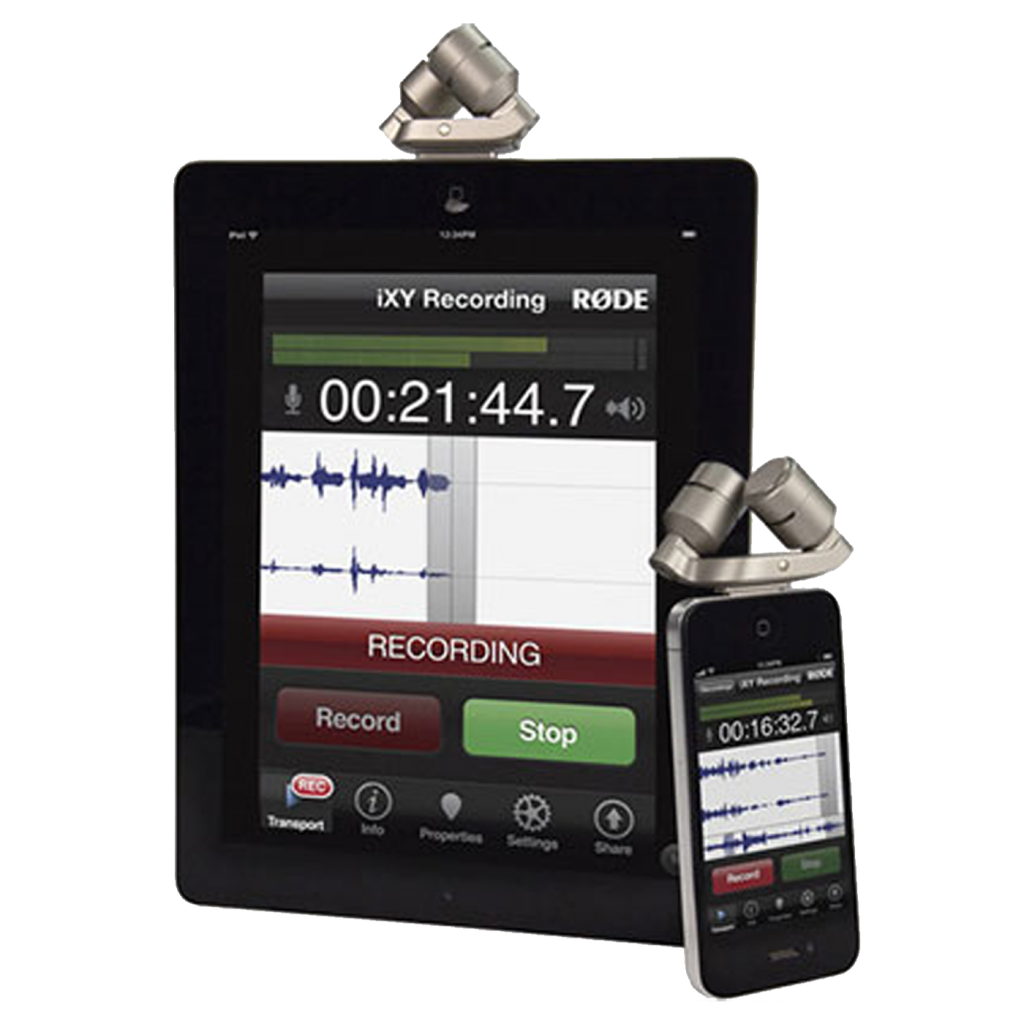
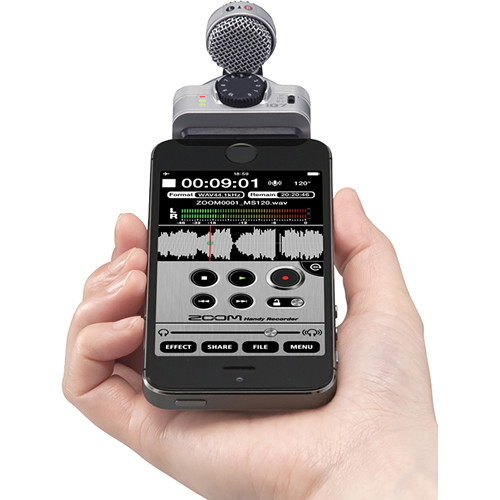
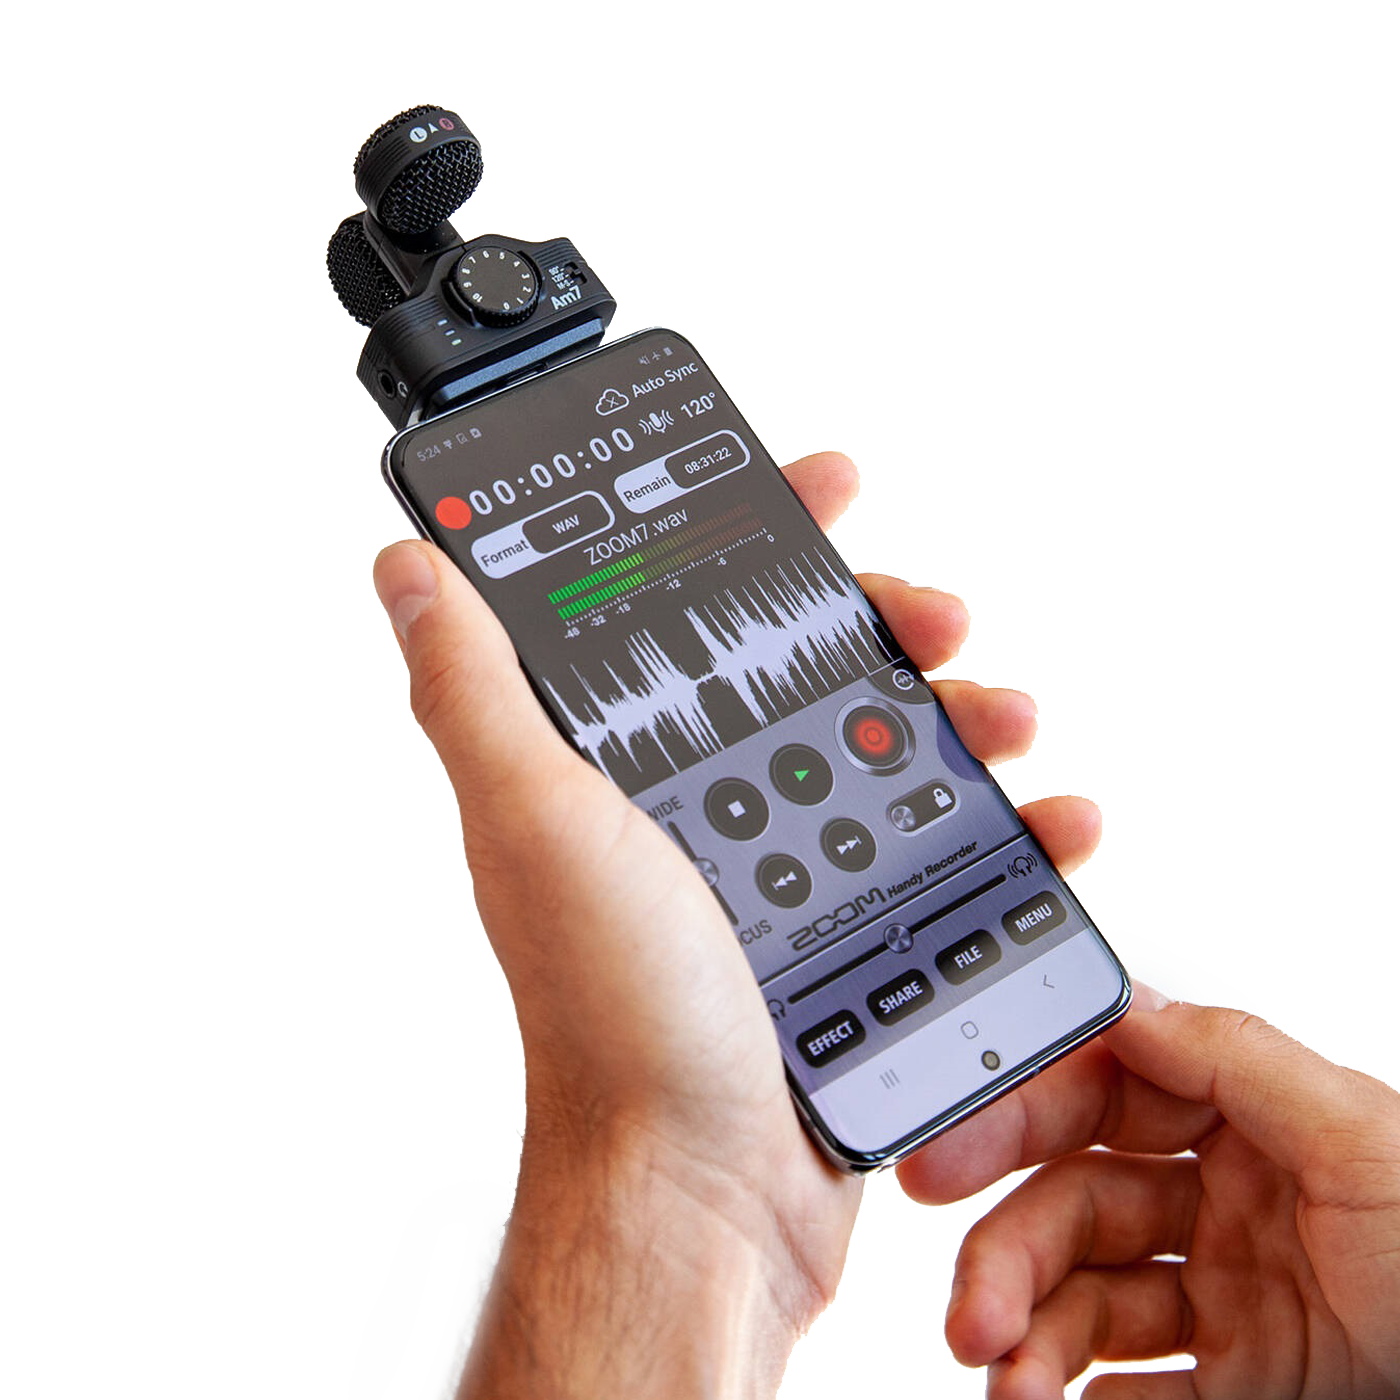
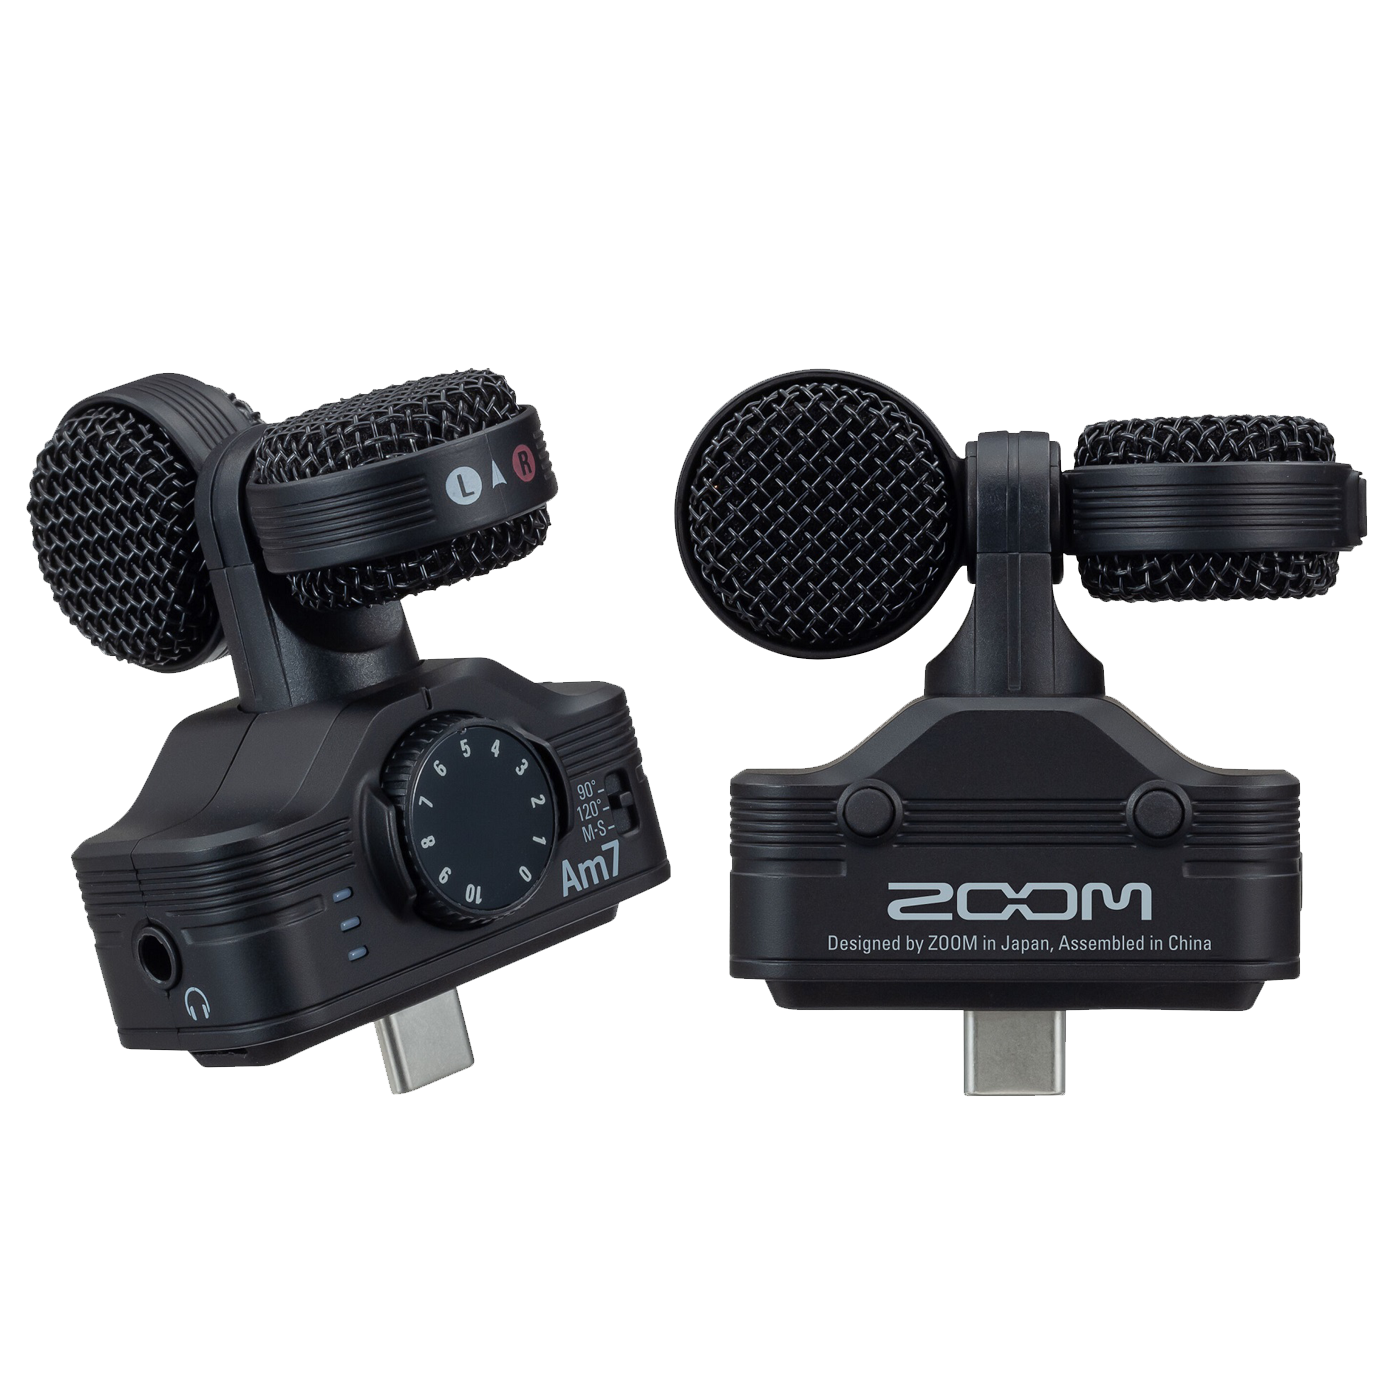
• Many high quality external mics are affordable and compact.

CONS

• Built-in mics are not as good as stand-alone recorders.

• Hardware controls and monitoring are challenging to most stand-alone recorders.

• The potential for recordings to fail is greater than with a stand-alone recorder.

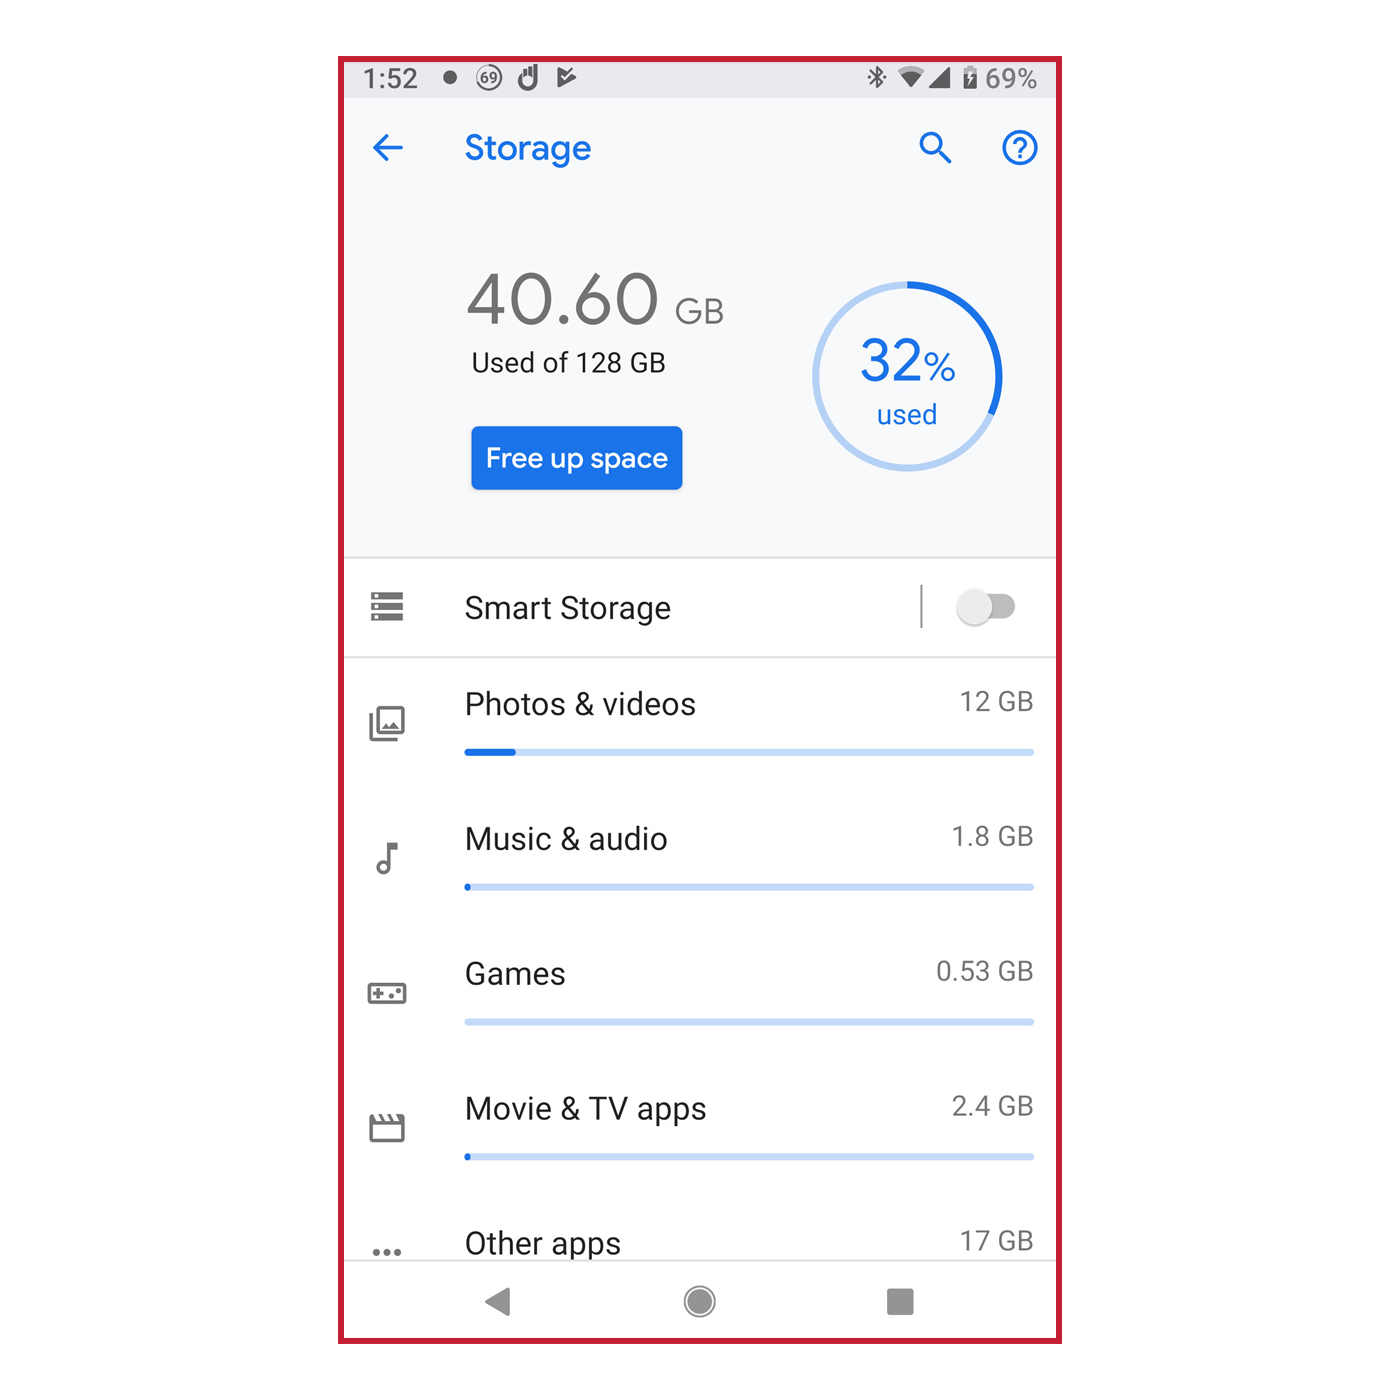
• Storage on your phone is limited and shared with all other apps and files on your device.

• There is no easy way to change memory cards with a mobile device.

• Transfer is not as simple with a stand-alone recorder.

Know your Device


Familiarize yourself with your device as much as possible.

• Know where your microphone is located. Usually they are at the the bottom of the handset, where you speak.

• Ensure that your device case or other paraphernalia are not obstructing the mic(s).

• Know if your device has a line out for headphones, and where that is.

• Find the display settings. Change the settings of the device to keep the display screen on continually or as long as possible, so you’ll be able to monitor the recording. (Remember to change it back when you’re done!)

Storage

Know how many gigabytes of storage are on your phone, and how much of that space is free.

If you do not have enough available storage, your recording time will be limited. It is possible you may not be able to record at all.

Your device can crash if you use all available memory while recording.

To prevent this, remove all unnecessary items from your phone to free up space before you record.

Power


Know the average battery life on your device.

It’s advisable to plug your phone into a power source while recording, such as an outlet, battery pack, or even your laptop. Do not rely on your device’s battery alone.

You may require an adpator to accomodate both an external mic, and plugging in to a power source.

It is best to change your device’s settings, if possible, so that the screen stays on and you can monitor the recording.  This will use more battery power.

Settings


While using your mobile device to record audio, don’t forget it has many other functions. Phone calls, notifications from apps, texts, calendar notifications, games – everything can intrude upon an interview and impact the quality of your audio recording.

Ensure your phone is in “Airplane Mode” before recording, and double check the following:

• The display set for the screen to stay on, or on as long as possible.

• That notifications from all other apps set to “off.”

• That Wifi connection is disabled.

Recording Apps


Suggested recording apps are listed below. However, apps frequently change their functionality, as well as their names. This list is current in 2021.

• Zoom HandyRecorder

• Awesome Voice Recorder X

• Lexis Audio Editor

• Hokusai Audio Editor

• Voice Recorder & Audio Editor

• Voice Record Pro

If you want to record phone calls, consider:

Call Recorder iCall

External Microphones

Smartphones don’t have very good built-in microphones, so adding an external microphone is the single most effective way to improve the quality of the sound your phone captures.

Most external microphones are easy to use. They will connect to your device via the main input connector and will have a headphone line-out built into the mic attachment.

Some older external microphones plug into the mini-jack analogue in, which is the line out for headphones. Make sure this type of microphone has a line-out for heaphones built in, or you will not be able to effectively monitor the sound.

If your device does not have a line out for heaphones, but your mic attachment connects through a mini port, there are adaptors available to make it compatible with your device.

Some suggestions for good quality external mics are:

Zoom IQ series (IQ6, IQ7, Am7)

• Shure MV88

• Rode smartLav

• Rode IXYL

• Rode VideoMic Me-L

• Rode SC6-L

Other Considerations

Moving or handling the recorder can cause an excessive amount of noise on the recording. Having a mount or stand instead of just holding your device will greatly reduce, or eliminate, the noise created by handling the device.

If you’re recording in the field where there is no table on which to set your device,  consider having a handheld mount or even a short selfie stick to reduce handling noise.

A small windsock that fits over the mic is also essential for outdoor recording.

Remember to always wear headphones so that you can hear what the microphone hears before you record.

File Transfer


When it comes to transferring your recording, most apps will allow file sharing via email, Airdrop, or cloud services like Google Drive or Dropbox. Make sure there is a transfer option before choosing an app.

Larger files will be more difficult and time consuming to transfer. You will need to be connected to a reliable Wifi network. Transferring without a Wifi network will require a significant amount of data usage.

Transferring large files directly to your computer with a wired connection, or to a USB flash drive are more reliable options. It is possible that you will need additional adaptors or apps to transfer this way, or you may need to purchase a mobile-compatible flash drive.

Learn about the modes of transfer on both the app you choose and your device model before you record.